


Embarking on a shower valve replacement journey in your home can seem daunting at first. However, with the right guidance, this essential maintenance task becomes much simpler. Whether you’re in the bustling heart of San Diego, CA, or the serene surroundings of La Jolla, CA, the need for a functional and efficient shower system is universal. Recognizing the signs of a failing valve is the first step towards ensuring your shower remains a haven of relaxation and cleanliness.
Preparation is key when it comes to shower valve replacement. Before diving into the process, understanding what tools and materials you’ll need sets the stage for a smooth operation. This preliminary step not only saves time but also prevents potential mishaps during the replacement process. It’s about making the task at hand as straightforward as possible, ensuring a seamless transition from old to new.
The actual swap of the cartridge, a crucial component of the shower valve, might sound complex, but it’s quite manageable. This part of the replacement process is where precision meets practicality, ensuring that the new valve functions correctly and efficiently. For residents in San Diego and La Jolla, CA, mastering this step means enjoying uninterrupted showers without the dread of sudden temperature changes or leaks.
Finally, testing the newly installed valve is critical to confirm its proper operation. This phase is not just about checking for leaks, it’s about ensuring that the effort put into the shower valve replacement results in a fully functional and reliable shower system. With these steps, homeowners can rest assured that their showers will continue to provide comfort and efficiency, making the task of shower valve replacement not just necessary but also gratifying.
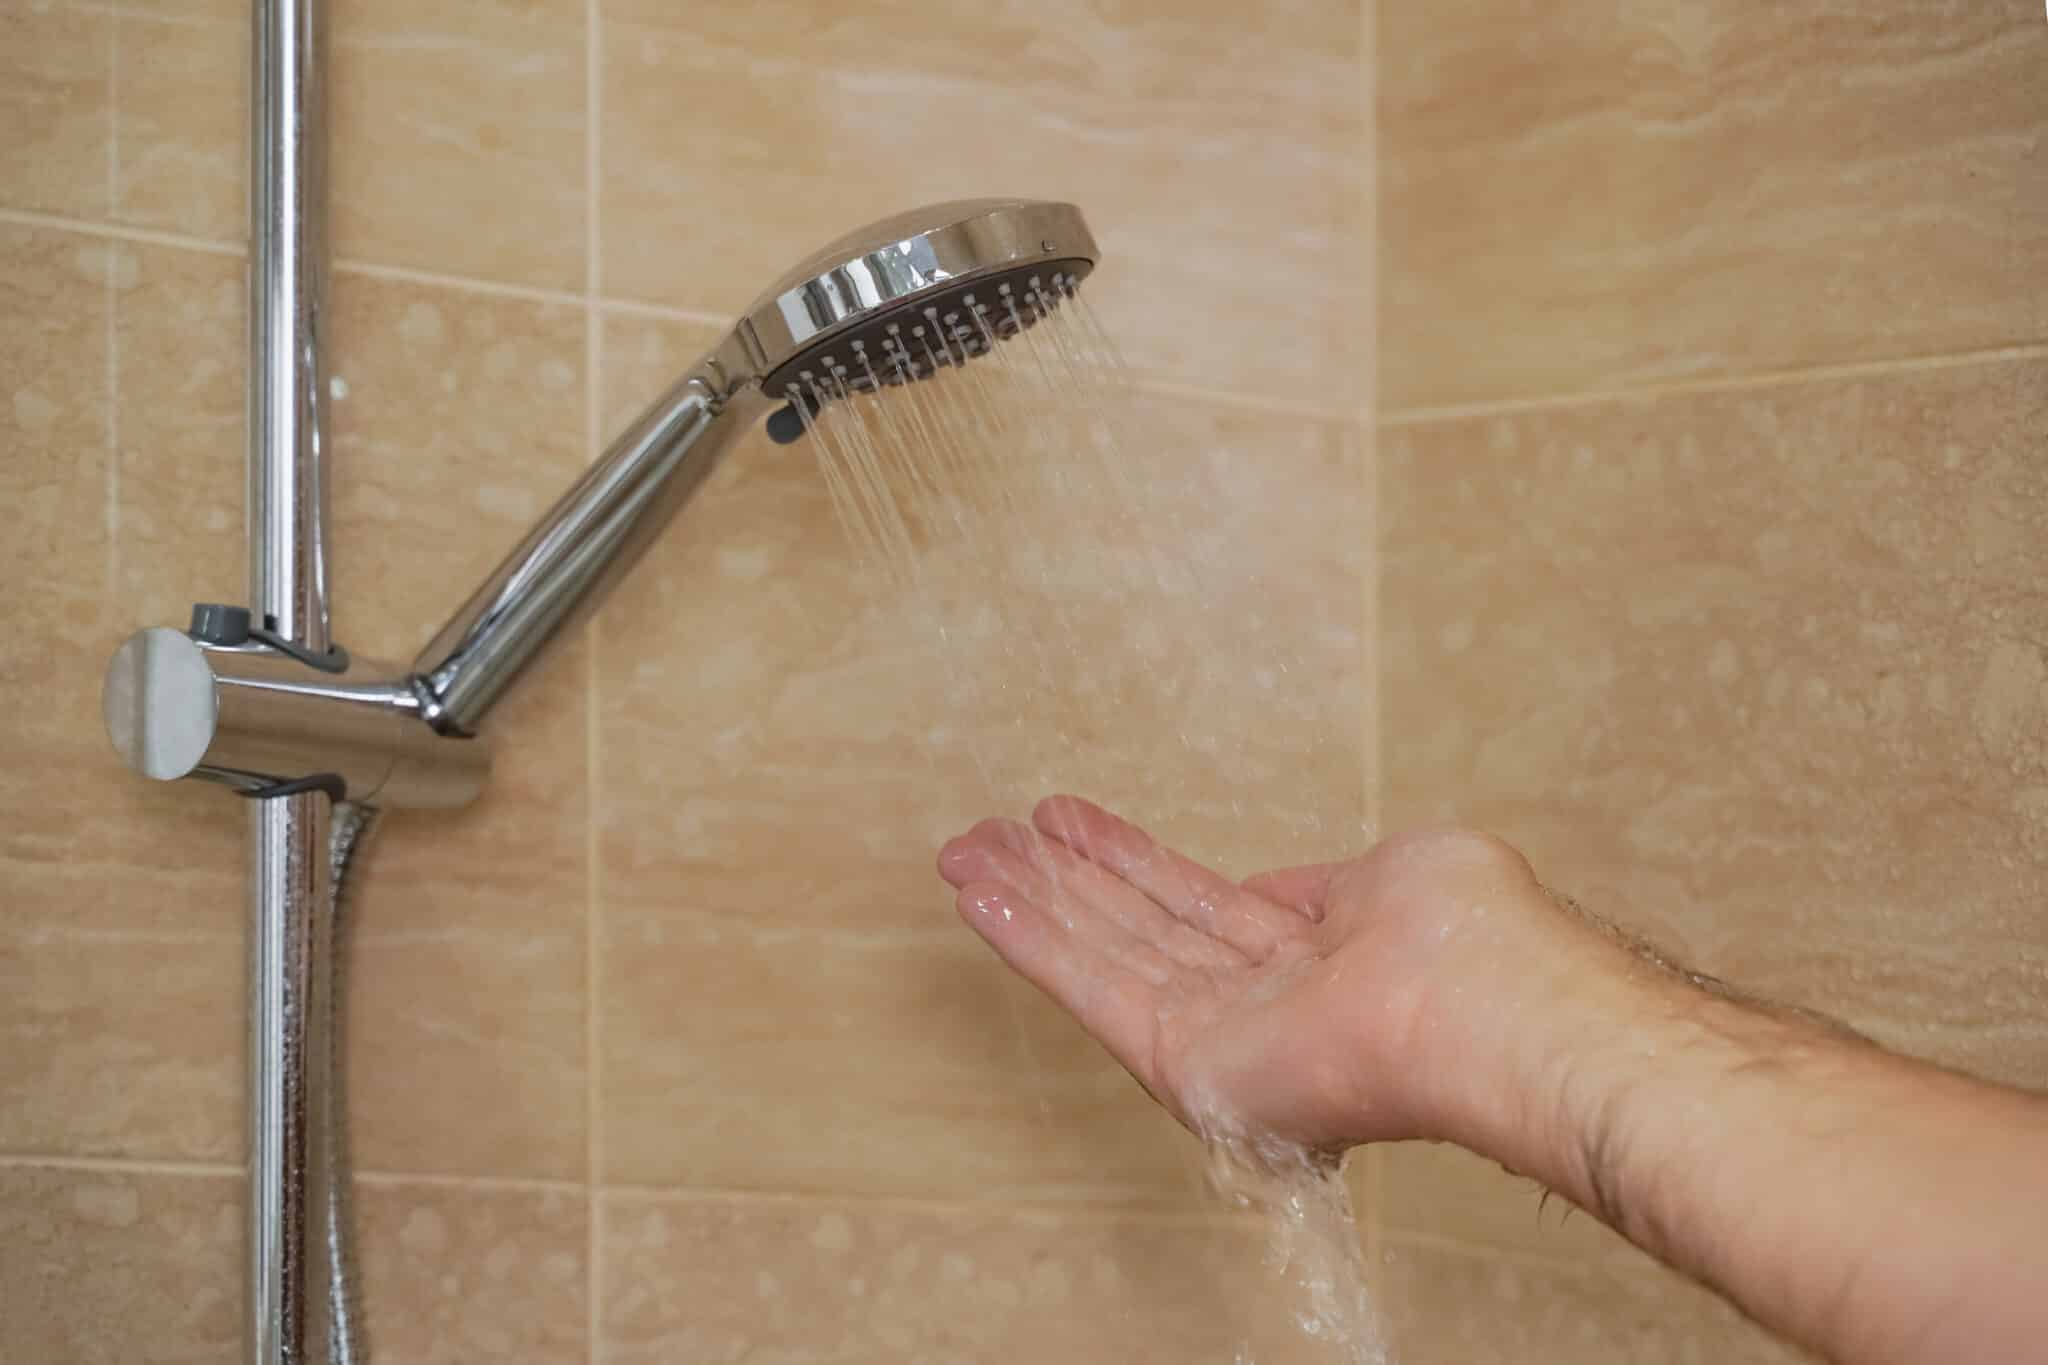
Recognizing the Signs of a Failing Shower Valve
Recognizing the signs of a failing shower valve is crucial before embarking on a shower valve replacement. In San Diego, CA, the fluctuating water pressure and hard water can wear down valves faster than in other regions. If your shower starts to deliver water at inconsistent temperatures or if you notice a drip even when the faucet is off, it’s time to consider a replacement. These symptoms suggest the valve is not regulating water flow properly, leading to inefficiency and potential water waste.
Another sign to watch for is unusual noises coming from the faucet when it’s in use. A properly functioning shower valve should operate quietly. If you hear whistling, screeching, or banging, it’s an indicator that the internal components are failing. Homeowners in La Jolla, CA, experiencing these sounds should inspect their shower valves as part of routine maintenance.
Preparing for a shower valve replacement involves more than just recognizing the signs of failure. It’s essential to shut off the water supply to your home to prevent any accidents during the replacement process. This precaution ensures a dry workspace, making it easier to remove the old valve and install the new one. Gathering the right tools and replacement parts before starting can also streamline the process, reducing the time your shower is out of commission.
Finally, understanding the type of valve installed in your shower can guide you in purchasing the correct replacement part. There are several types of shower valves, each with unique features and installation requirements. Identifying whether you have a pressure-balancing valve, thermostatic valve, or another type can make the replacement process smoother. With this knowledge, homeowners can confidently approach shower valve replacement, ensuring a successful update to their shower’s functionality.
Tools and Materials Needed for Shower Valve Replacement
Embarking on a shower valve replacement requires not just skill but also the right set of tools and materials. For homeowners in San Diego, CA, this means gathering everything needed before starting the project. Essential tools include a screwdriver, adjustable wrench, and pliers. Having these at hand ensures you can tackle any part of the valve replacement process efficiently.
Materials are equally important in ensuring the success of your project. A new shower valve cartridge, specific to your shower’s model, is crucial. Sealant and plumber’s tape are also needed to prevent leaks once the new valve is installed. These materials ensure a watertight seal, keeping your shower functioning perfectly.
In La Jolla, CA, where water quality can affect plumbing, choosing high-quality replacement parts is vital. Opting for durable, corrosion-resistant materials can extend the life of your shower valve. This approach not only saves money in the long run but also ensures your shower maintains consistent water pressure and temperature.
Finally, preparing your workspace is key to a smooth shower valve replacement. Clearing the area and laying down towels can prevent water damage and make clean-up easier. This preparation step, often overlooked, can significantly impact the efficiency and outcome of your project, making the replacement process as straightforward as possible.
Preparing Your Workspace for the Job
After recognizing the signs of a failing shower valve and gathering the necessary tools and materials, the next step is preparing your workspace. In San Diego, CA, where space can sometimes be at a premium, ensuring you have a clear area to work in is essential. Begin by removing any items from the shower area that might obstruct access to the valve. This not only creates more room to maneuver but also protects your belongings from potential water damage.
Laying down towels or a drop cloth on the shower floor is a wise move. This simple action can prevent small parts from going down the drain and absorb water spills, making cleanup after the job much easier. It’s a practical approach that homeowners in La Jolla, CA, find beneficial, especially when dealing with the intricacies of shower valve replacement. Plus, it helps in keeping the work area dry, reducing the risk of slips or falls.
Turning off the water supply to your home before starting the replacement is a crucial safety step. This precaution prevents unexpected water flow, which could complicate the replacement process. It’s a straightforward task that ensures a dry work environment, allowing you to focus on the task at hand without interruptions. For residents in San Diego, CA, familiarizing themselves with the main water shut-off valve location ahead of time can save precious minutes during the preparation phase.
Finally, organizing your tools and materials within easy reach streamlines the shower valve replacement process. Having everything you need at hand means you can work more efficiently, without the need to stop and search for tools. This level of organization is particularly helpful in La Jolla, CA, where the attention to detail can make the difference between a successful replacement and a prolonged project. By following these preparatory steps, you’re well on your way to a successful shower valve replacement, ensuring your shower is back in action swiftly and efficiently.
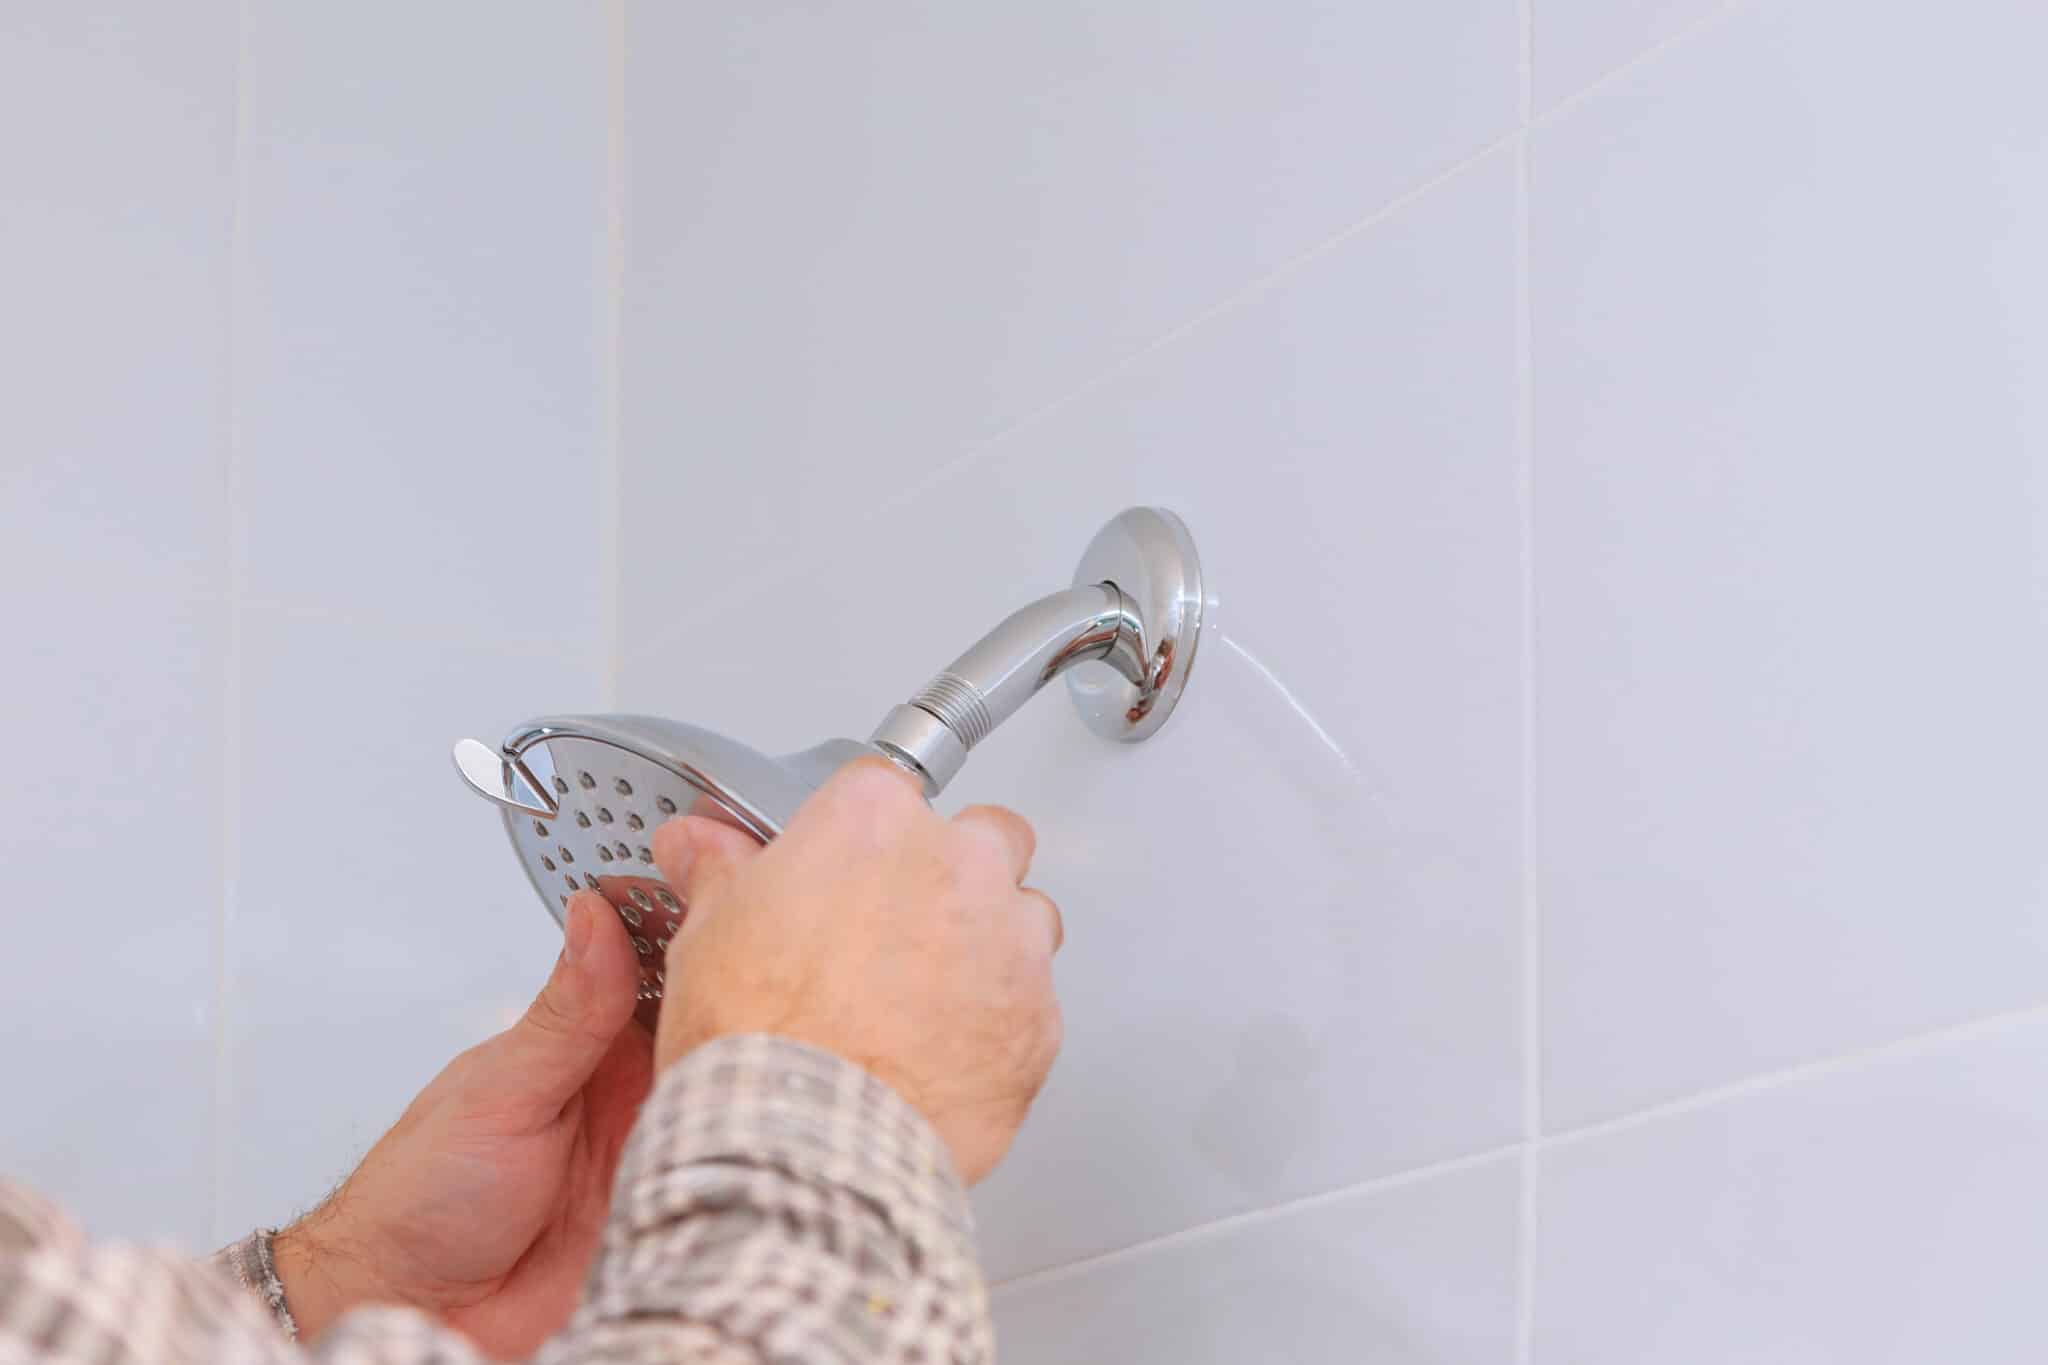
Step-by-Step Guide to Removing the Old Valve
Embarking on the actual shower valve replacement starts with removing the old valve, a critical step for homeowners in San Diego, CA. First, ensure the water supply remains off to avoid any unexpected sprays or leaks. Using your adjustable wrench, carefully loosen and detach the nuts that secure the valve in place. This process requires patience and precision to prevent damaging the surrounding plumbing.
Next, once the nuts are removed, gently pull out the old valve from the wall. It’s important to do this with care to avoid harming the pipes inside the wall. If resistance is felt, double-check to ensure all connections have been fully loosened. This step is crucial for ensuring the old valve is removed without causing additional issues that could complicate the installation of the new one.
With the old valve out, take a moment to inspect the cavity and pipes for any signs of damage or wear. Homeowners in La Jolla, CA, might notice corrosion or buildup due to the area’s water quality. Cleaning the area thoroughly before proceeding with the new valve installation can help ensure a better fit and prevent future leaks. This preparation makes the new valve’s installation smoother and more efficient.
Finally, it’s time to prepare for the installation of the new valve. Make sure the area is clean and free of debris. Checking the compatibility of the new valve with your shower system is also essential. This ensures that the new component will function correctly, providing a reliable and efficient shower experience. With these steps completed, you’re ready to move forward with installing the new valve, marking a significant milestone in your shower valve replacement project.
Choosing the Right Replacement Cartridge
Choosing the right replacement cartridge is a pivotal step in the shower valve replacement process. For homeowners in San Diego, CA, this means selecting a cartridge that matches their current shower setup. It’s important to know the make and model of your existing valve. This information ensures you purchase a compatible cartridge, avoiding unnecessary returns or delays in your project.
When selecting a new cartridge, consider the water quality in your area, such as in La Jolla, CA, where minerals in the water can affect plumbing components. Opting for cartridges made from durable, corrosion-resistant materials can extend the lifespan of your shower valve. This proactive approach not only saves money over time but also maintains consistent water pressure and temperature in your shower.
Installation of the new cartridge is straightforward but requires attention to detail. First, insert the cartridge into the valve body, ensuring it’s properly aligned and seated. This precision prevents leaks and guarantees the efficient operation of your shower. A correctly installed cartridge is the heart of a successful shower valve replacement, ensuring everything works as it should.
Finally, testing the new cartridge is essential before considering the project complete. Turn the water supply back on and monitor the shower’s performance. Check for leaks, verify that the water temperature adjusts smoothly, and ensure the water flow is consistent. This final step confirms the success of your shower valve replacement, offering peace of mind that your shower is ready for use.
Installing the New Shower Valve
After selecting the right cartridge, the next crucial step in shower valve replacement is installing the new shower valve. Begin by carefully aligning the new valve with the plumbing connections in the wall. Ensuring proper alignment is key to a smooth installation process. This careful attention to detail will prevent future leaks and ensure the system operates efficiently, a particularly important consideration for homeowners in San Diego, CA.
Next, secure the valve in place by tightening the nuts with an adjustable wrench. It’s essential to tighten these nuts firmly but avoid over-tightening, which could damage the valve or the plumbing. This balance is crucial for creating a watertight seal, ensuring that the new shower valve functions reliably. For residents in La Jolla, CA, this step is critical to withstand the area’s water pressure and quality.
Once the new valve is securely installed, it’s time to reconnect the water supply and test the valve’s functionality. Turn the water supply back on and observe the new valve for any signs of leaks or malfunction. This testing phase is crucial to ensure that the shower valve replacement has been successful and that your shower is ready for use. A successful test means a job well done, bringing peace of mind to homeowners.
Finally, reinstall any cover plates or trim pieces that were removed during the replacement process. This not only completes the aesthetic look of your shower but also protects the valve from any potential damage. With the new shower valve installed and tested, you can enjoy the benefits of a fully functional shower. This marks the completion of a successful shower valve replacement, restoring the comfort and efficiency of your shower experience.
Testing Your Shower Valve Replacement for Leaks
After installing the new shower valve, testing for leaks is an essential step to ensure the success of your shower valve replacement. Begin by slowly turning on the water supply to your home. This gradual approach helps you monitor the valve’s response to the water pressure, making it easier to identify any leaks. Residents in San Diego, CA, will find this step crucial for catching any small drips before they become bigger issues.
Observing the valve and connections for a few minutes without rushing allows you to confirm the integrity of your work. Look closely at the valve body and the areas where it connects to the pipes. If you spot any water droplets forming, tightening the connections slightly more might be necessary. This careful scrutiny ensures that homeowners in La Jolla, CA, can trust their shower valve replacement has been completed without any leaks.
In the unlikely event you discover a leak, don’t panic. Turning off the water supply and reviewing your installation steps can often reveal a simple oversight. Sometimes, a seal might not be properly positioned, or a connection may need an extra turn to be fully secure. Addressing these issues promptly ensures the longevity and reliability of your new shower valve.
Once you’ve confirmed there are no leaks, you can take pride in having successfully completed a shower valve replacement. Enjoying a leak-free shower not only marks a significant home maintenance achievement but also contributes to water conservation efforts. With your new valve in place, you’ll experience consistent water pressure and temperature control, enhancing your daily shower routine in both San Diego, CA, and La Jolla, CA.
Maintenance Tips to Extend Valve Life
Maintaining your shower valve after a successful replacement ensures its longevity and optimal performance. In San Diego, CA, the water’s mineral content can accelerate wear and tear on plumbing fixtures. To combat this, regularly cleaning the shower valve and surrounding area prevents mineral buildup. This simple step can significantly extend the life of your shower valve, making shower valve replacement less frequent.
Another effective maintenance tip is to monitor your shower’s water pressure. High water pressure can strain the valve, leading to premature failure. Homeowners in La Jolla, CA, can install a water pressure regulator to maintain a safe level. This not only protects the shower valve but also other sensitive plumbing fixtures in your home.
It’s also wise to conduct periodic checks for leaks or drips in your shower. Even minor leaks can indicate that the valve is not sealing properly. Addressing these issues promptly can prevent more significant problems down the line. This proactive approach saves both water and money, ensuring your shower valve replacement remains a valuable upgrade to your bathroom.
Finally, familiarizing yourself with your shower’s operation can help you catch early signs of valve failure. If you notice changes in water temperature or pressure, it may be time for a check-up. Residents of both San Diego, CA, and La Jolla, CA, can benefit from understanding their plumbing systems. This knowledge empowers homeowners to maintain their shower valves effectively, ensuring a steady flow of warm, comforting showers for years to come.
Frequently Asked Questions
What tools are needed for shower valve replacement?
For a successful shower valve replacement, you’ll need a few key tools. Start with an adjustable wrench and a set of screwdrivers. A pair of pliers and a utility knife are also essential for handling the parts and trimming any seals. Lastly, ensure you have some plumber’s tape on hand to secure a leak-free connection.
How long does shower valve replacement take?
Replacing a shower valve typically takes a few hours for someone with basic plumbing skills. First, turning off the water supply is crucial to avoid any mishaps. After that, removing the old valve and installing the new one can be straightforward with the right tools. Finally, testing the new setup ensures everything works perfectly before wrapping up the project.
Can I replace a shower valve myself?
Yes, you can tackle shower valve replacement on your own if you have some basic plumbing knowledge. Before starting, make sure you have all the necessary tools and parts. Carefully follow step-by-step instructions to avoid common pitfalls. Remember, patience and attention to detail are key to a successful project.
What are the signs I need a shower valve replacement?
Knowing when to replace your shower valve is key to maintaining a smooth-running bathroom. If your shower temperature fluctuates wildly or fails to maintain a consistent heat, it’s a clear sign. Another indicator is a persistent drip or leak, which can lead to water waste and increased bills. Lastly, if turning the handle feels stiff or if it makes unusual noises, consider it time for a shower valve replacement.
How do I choose a new shower valve?
When selecting a new shower valve, consider compatibility with your current plumbing system to ensure a seamless installation. Look for a valve with durable construction and reliable manufacturer warranties for long-term satisfaction. It’s also wise to choose a model that matches your bathroom’s style and your usage needs. Lastly, reading reviews can provide insights into user experiences, helping you make an informed decision.
