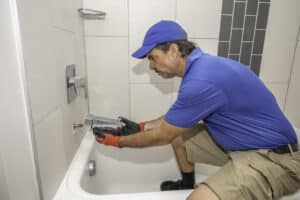
Embarking on a bidet sprayer install in your bathroom can elevate the cleanliness and sophistication of your space. This task, while seemingly daunting, can be simplified with the right approach and understanding of the necessary steps. Residents in San Diego, CA, and surrounding areas like La Jolla, CA, are increasingly adopting this hygienic fixture, reflecting a growing trend towards enhanced bathroom functionality and comfort. By choosing compatible parts and ensuring a proper setup, homeowners can enjoy the myriad benefits of a bidet sprayer without much hassle.
Adding a T valve at the toilet supply line is a crucial step in the bidet sprayer install process. This not only allows for the easy diversion of water to your new bidet sprayer but also maintains the integrity of your existing plumbing. Ensuring that this component is correctly installed is paramount in preventing leaks and potential water damage. With a focus on precision, this step can pave the way for a successful installation.
Preventing leaks is another critical aspect of a bidet sprayer install. By using quality seals and checking all connections thoroughly, homeowners can avoid common pitfalls that lead to water damage. It’s essential to approach this step with care, as even a small leak can lead to significant issues down the line. Taking the time to double-check your work can save a lot of headaches and keep your bathroom dry and functional.
Testing the operation of your new bidet sprayer is the final, satisfying step. After installation, running through all the features and settings ensures everything is working as it should. This not only confirms the success of your install but also familiarizes you with the functionality of your new bathroom upgrade. With a successful bidet sprayer install, residents of San Diego, CA, and La Jolla, CA, can enjoy a cleaner, more sophisticated bathroom experience.
Choosing the Right Bidet Sprayer for Your Bathroom
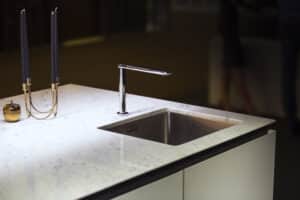
Choosing the right bidet sprayer for your bathroom begins with understanding the compatibility of parts. The market offers a wide range of models, each with unique features and specifications. It’s important to select a sprayer that fits seamlessly with your existing toilet and plumbing setup. This ensures a smooth bidet sprayer install process and avoids unnecessary complications.
In addition to compatibility, consider the design and functionality that best suit your needs. Some bidet sprayers come with adjustable pressure controls, allowing for a customized cleaning experience. Others include features like temperature control for added comfort. Selecting a model that aligns with your preferences enhances the overall satisfaction with your new bathroom upgrade.
When shopping for your bidet sprayer, paying attention to the quality of materials is crucial. High-quality components are more likely to withstand the test of time, reducing the need for frequent replacements. They also tend to be more reliable, ensuring a leak-free installation. Opting for a reputable brand can often guarantee the durability and efficiency of your bidet sprayer.
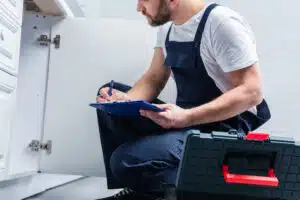
Lastly, consider the installation process of the bidet sprayer you choose. Some models are designed for easy, DIY installation, while others might require professional assistance. Understanding the installation requirements ahead of time can help you prepare accordingly. Whether you decide to tackle the project yourself or hire a professional, ensuring a proper install is key to enjoying a cleaner, more sophisticated bathroom in your San Diego or La Jolla home.
Tools and Materials Needed for Bidet Sprayer Install
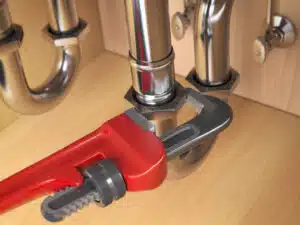
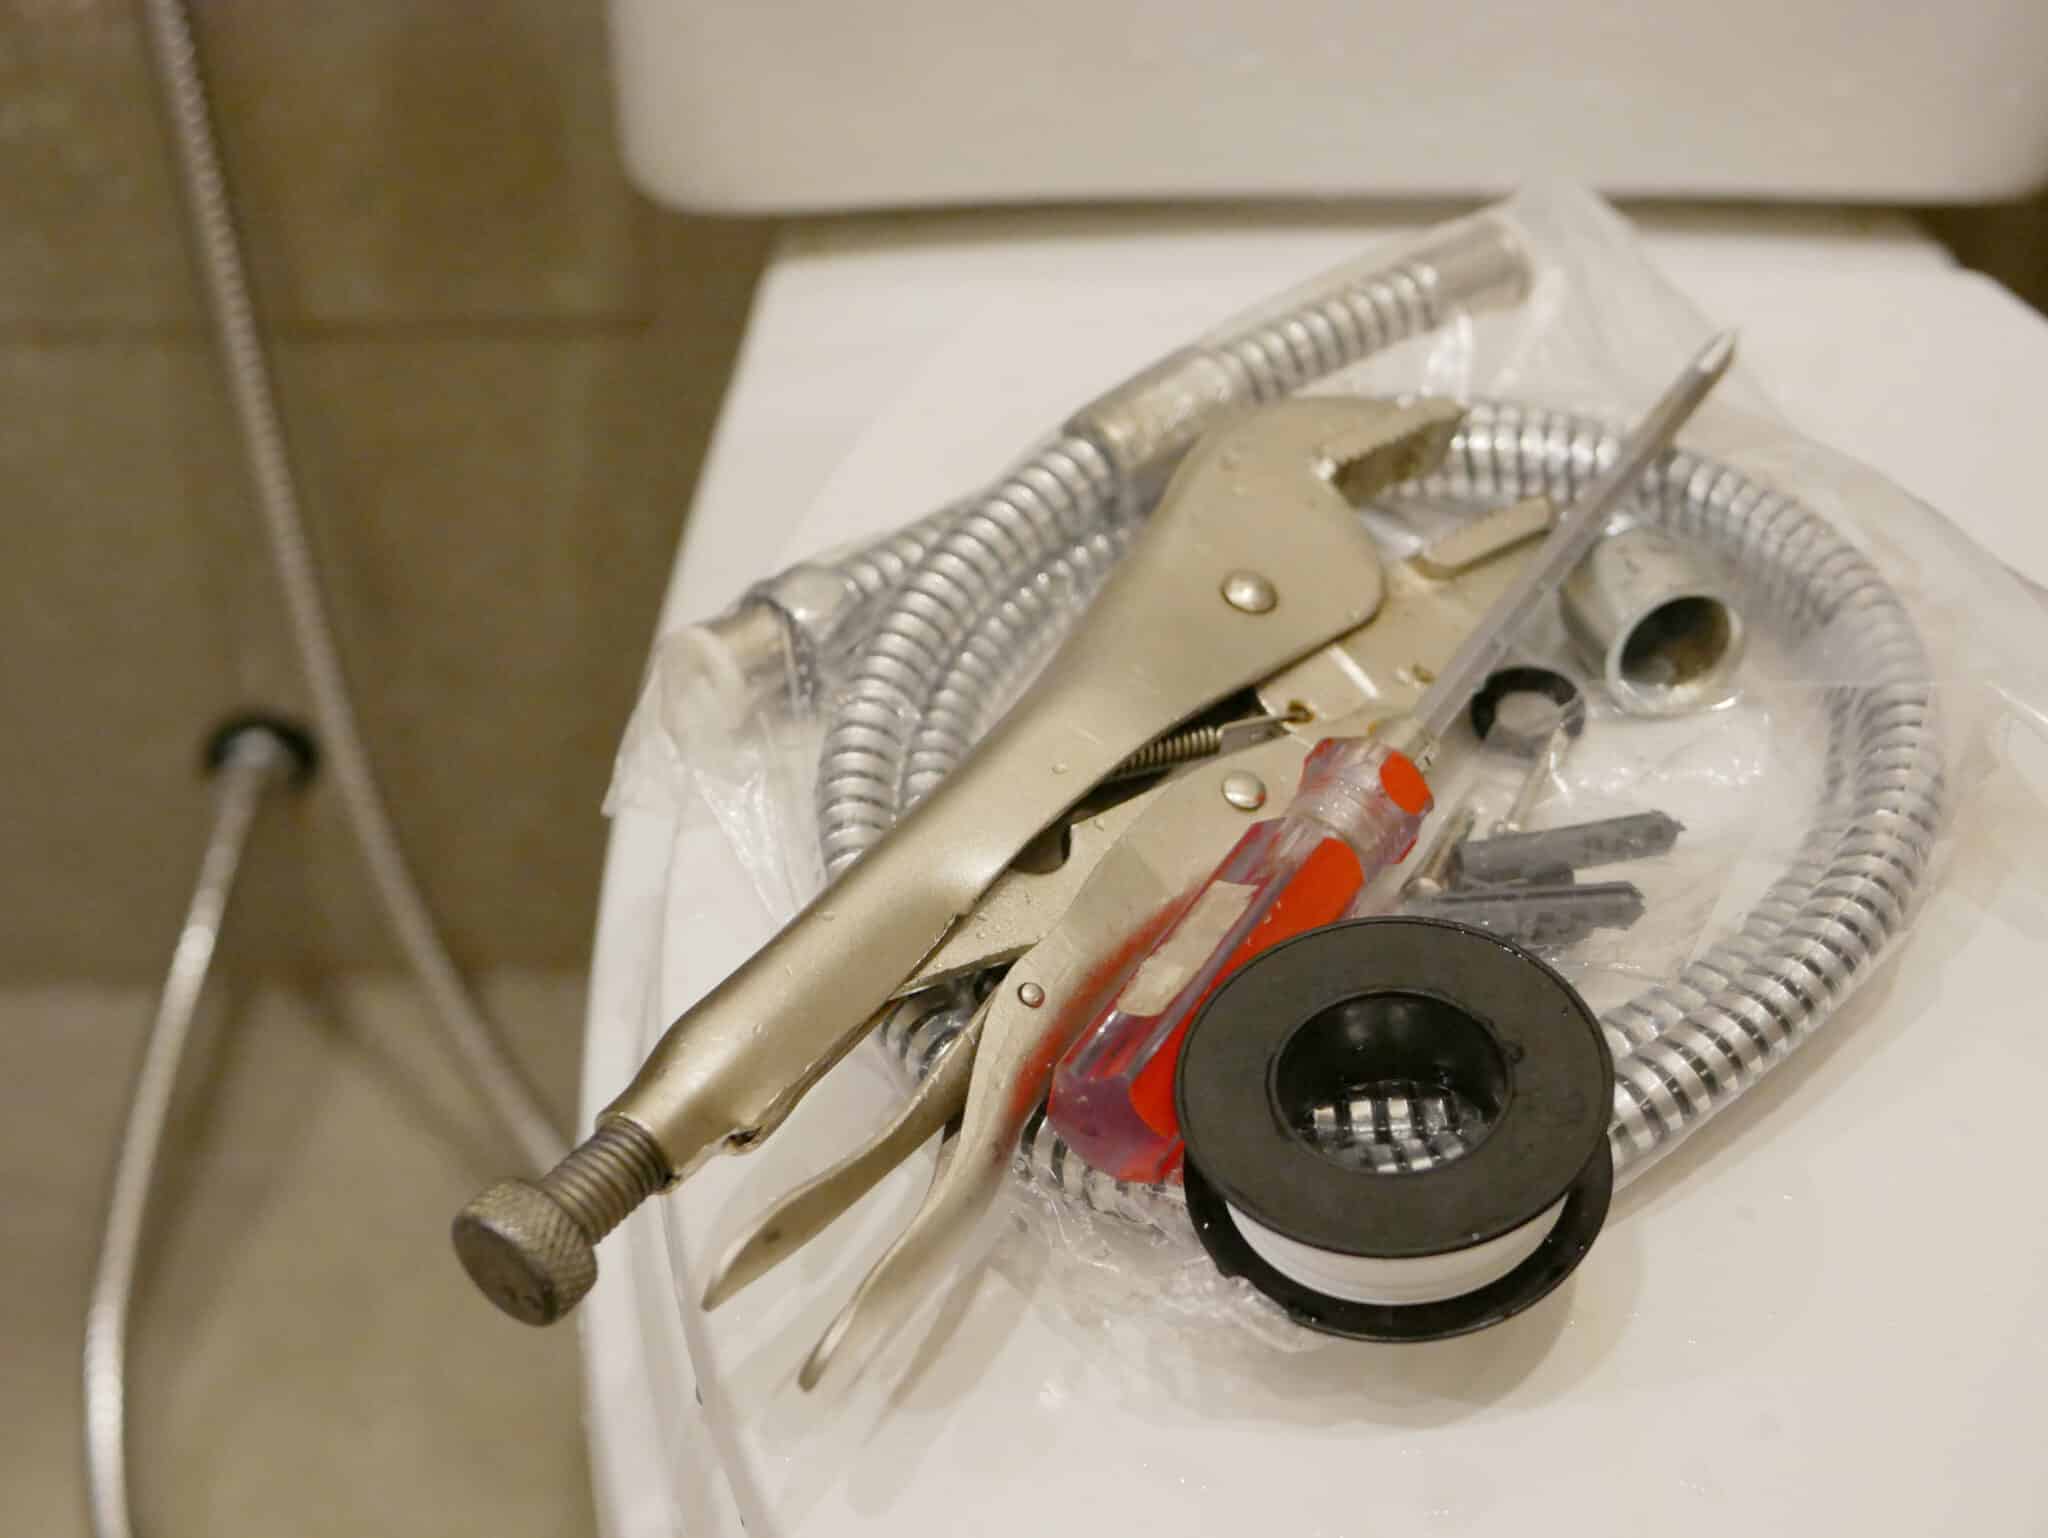
Before diving into your bidet sprayer install, gathering the right tools and materials is essential. You’ll need an adjustable wrench, Teflon tape, and a screwdriver, which are crucial for a smooth installation process. Additionally, ensure you have the bidet sprayer kit, which typically includes all necessary components. Having these items on hand prevents delays, making your project in San Diego, CA, or La Jolla, CA, more efficient.
Next, the importance of Teflon tape in preventing leaks cannot be overstated. Wrap it around the threads of each connection point before assembling them. This small step plays a big role in ensuring a tight seal, keeping your bathroom dry. It’s a simple yet effective way to enhance the reliability of your bidet sprayer install.
Moreover, having a bucket and towels nearby is wise, especially during the testing phase. These items will help manage any unexpected water that may escape. They also come in handy for cleaning up once you’ve completed the install. This preparation can make the difference between a messy task and a tidy finish.
Finally, familiarize yourself with the instruction manual of your bidet sprayer. Each model has unique features and installation steps. Taking the time to understand these can prevent mistakes and ensure a successful bidet sprayer install. With the right approach, residents in San Diego and La Jolla can enjoy the benefits of a cleaner, more sophisticated bathroom.
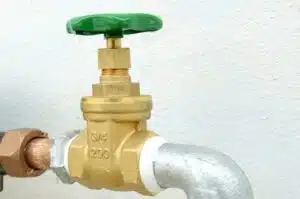
Step-by-Step Guide to Adding a T Valve
Adding a T valve during your bidet sprayer install is a straightforward yet crucial step. First, shut off the water supply to your toilet to ensure a safe working environment. This prevents any unexpected water flow that could complicate the installation process. With the water off, you’re ready to proceed to the next step confidently.
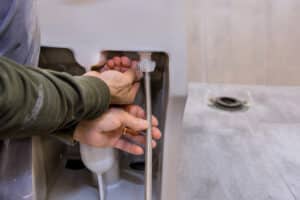
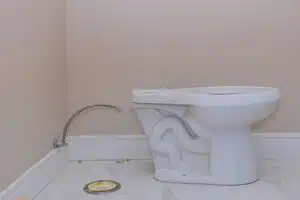
Next, locate the toilet’s water supply line at the base of the tank. Here, you’ll detach the existing connection, which is where the T valve comes into play. By attaching this valve, you create a branch in the water line: one leading to the toilet and the other to your new bidet sprayer. It’s a simple modification that significantly expands your bathroom’s functionality.
When installing the T valve, using Teflon tape on the threads is essential for preventing leaks. Wrap the tape around the threads a few times before making the connection to ensure a watertight seal. This small step is crucial for maintaining a dry and damage-free bathroom. A leak-free install is the goal, and attention to detail here makes all the difference.
Finally, after securing the T valve, reconnect the water supply and check for any signs of leaks. This is where your preparation pays off, as any issues can be quickly addressed without water damage. Once everything is tight and dry, you’ve successfully completed a key phase of your bidet sprayer install. This addition not only enhances your bathroom’s hygiene but also its overall appeal, making it a win for homes in San Diego and La Jolla.
Preventing Leaks: Sealants and Techniques
Ensuring a leak-free bidet sprayer install begins with the right sealants and techniques. Before connecting parts, applying a quality sealant to the threads can make a significant difference. This not only helps to prevent water from escaping but also secures the connections for long-term use. Choosing a sealant designed for bathroom fixtures ensures compatibility and durability, essential for homes in San Diego, CA.
Another effective technique is to inspect all rubber washers and seals before installation. These small components play a crucial role in preventing leaks. If they appear worn or damaged, replacing them is a wise move. This preventive measure can save you from future leaks and the complications that come with water damage in La Jolla, CA.
After installing the bidet sprayer, conducting a thorough leak test is crucial. Slowly turn on the water supply and observe each connection point for any signs of water seepage. This step allows you to address any issues immediately, ensuring a dry and secure setup. Catching leaks early prevents water damage and contributes to a successful bidet sprayer install.
Lastly, regular maintenance checks are key to a leak-free bidet sprayer. Over time, connections can loosen, and seals may degrade. Periodically checking these can help you catch and fix any potential leaks before they become a problem. This ongoing vigilance keeps your bathroom in top condition, maintaining the benefits of your bidet sprayer install.
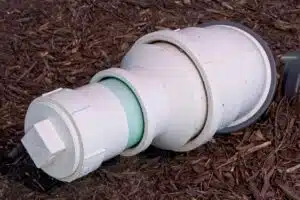
Bidet Sprayer Install: Connecting the Hoses
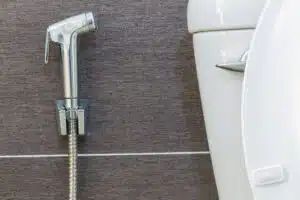
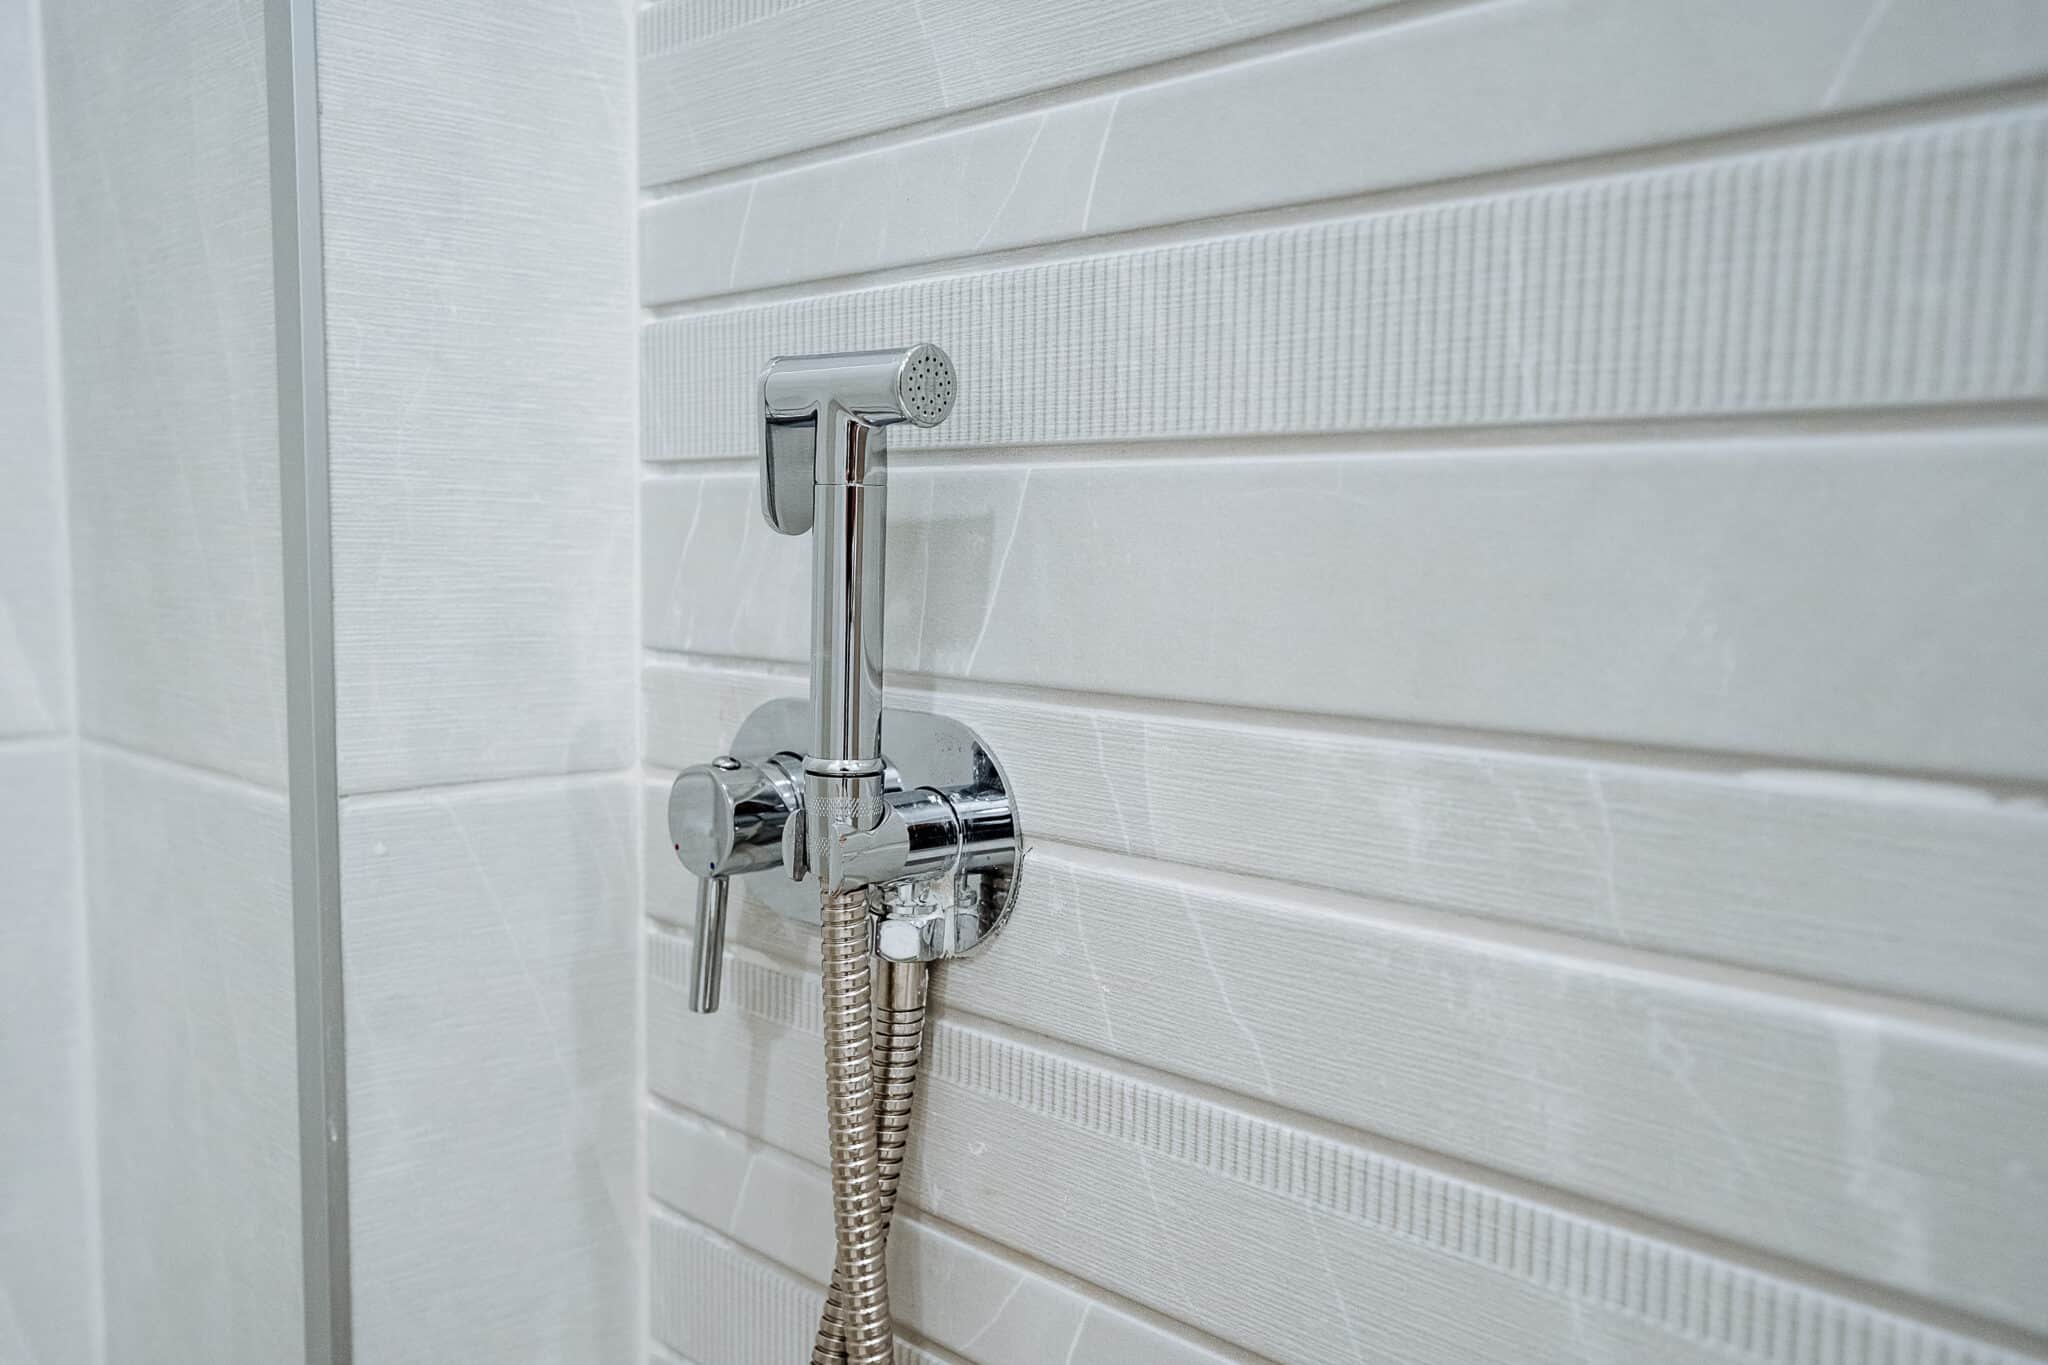
After ensuring a leak-free setup, the next step in your bidet sprayer install is connecting the hoses, which is a crucial phase to get right. Begin by identifying the hose that connects the T valve to the bidet sprayer, often clearly marked in the installation kit. This hose is typically flexible, making it easier to maneuver into place. Securely attach one end to the T valve and the other to the bidet sprayer, ensuring each connection is tight to prevent leaks.
Next, it’s important to check the hose for any kinks or twists that could restrict water flow. A smooth, straight hose ensures optimal water pressure and functionality of your bidet sprayer. If you encounter any bends, gently straighten the hose to maintain a consistent water flow. This step is simple but vital for the bidet sprayer’s performance once installed.
Once the hoses are correctly connected and checked for any obstructions, slowly turn the water supply back on. This gradual approach helps you monitor the system for any immediate leaks around the new connections. Watching for leaks as you restore the water supply allows you to address any issues before they escalate, ensuring a successful install in your San Diego home.
Finally, testing the bidet sprayer’s operation is the last step to confirm a successful install. Activate the sprayer according to the manufacturer’s instructions and adjust the settings to your preference. This test not only ensures everything is working correctly but also familiarizes you with the sprayer’s features, completing your bidet sprayer install in La Jolla, CA. With these steps, you can enjoy the enhanced cleanliness and comfort of your new bathroom upgrade.
Testing Your Bidet Sprayer: What to Look For
After completing the connections and ensuring no leaks, testing your bidet sprayer is the crucial final step in the install process. Start by slowly turning on the water supply to check for any immediate issues. This careful approach helps you spot and fix any problems before they escalate. With everything set, your bidet sprayer install in San Diego, CA, is almost ready for use.
Next, activate the bidet sprayer using the control knob or button, depending on your model’s design. Watch how the water flows, ensuring it’s steady and at the right pressure. This moment is satisfying as it signifies your install efforts are paying off. It’s also a good time to adjust settings to match your personal preferences, enhancing your bathroom experience in La Jolla, CA.
Pay attention to how the sprayer functions during use. It should operate smoothly, without any leaks or drops in pressure. If you encounter any issues, revisiting the connections for tightness might be necessary. This step ensures your bidet sprayer install is not only successful but also reliable for daily use.
Finally, familiarize yourself with the different features and settings of your bidet sprayer. Understanding how to adjust the water pressure and temperature, if applicable, allows you to maximize the benefits of your new bathroom upgrade. With this knowledge, you can enjoy a cleaner, more sophisticated bathroom experience, thanks to a successful bidet sprayer install.
Maintenance Tips for Your New Bidet Sprayer
After installing your bidet sprayer, maintaining it properly ensures its longevity and efficiency. Regularly checking the connections can prevent leaks from developing over time. This involves inspecting the hose and T valve connections to your bidet sprayer every few months. By doing this, homeowners in San Diego, CA, can enjoy a consistently well-functioning bathroom fixture.
Cleaning the nozzle and sprayer head is also crucial for maintaining hygiene and performance. Use a soft cloth and a gentle cleaner to wipe down the sprayer regularly. This prevents the buildup of minerals from hard water, which can affect water flow and spray pattern. Residents in La Jolla, CA, will find that this simple step greatly contributes to the sprayer’s effectiveness.
It’s also important to descale the bidet sprayer periodically, especially in areas with hard water. This process involves running a descaling solution through the sprayer to remove any mineral deposits. Doing so ensures that the water pressure remains strong and consistent, providing an optimal cleaning experience with every use.
Lastly, familiarize yourself with the manufacturer’s guidelines for your specific model. Each bidet sprayer may have unique maintenance requirements or recommended cleaning products. Adhering to these recommendations can help avoid damage and ensure that your bidet sprayer install remains a valuable addition to your bathroom for years to come.
Troubleshooting Common Bidet Sprayer Issues
After your bidet sprayer install, you might encounter a few common issues that can usually be fixed with simple troubleshooting. If you notice a decrease in water pressure in your San Diego home, first check the T valve and hose connections for any obstructions. Sometimes, debris or mineral buildup can restrict water flow, but cleaning these parts can often restore full functionality. Ensuring these components are clear and fully open can make a significant difference.
Leaks are another issue that can arise after installation. If you spot water dripping from any connection point, it’s crucial to address it immediately to prevent damage. Tightening the connections with an adjustable wrench can often solve the problem. However, if leaks persist, replacing the washer or applying more Teflon tape to the threads may be necessary, effectively sealing the connection.
In La Jolla, CA, residents may also experience issues with the bidet sprayer not functioning correctly. This could be due to improperly aligned parts during the install process. Double-checking that all components are correctly fitted and aligned according to the manufacturer’s instructions can resolve many operational problems. This step ensures that each part works together as intended, providing the optimal experience.
Lastly, if your bidet sprayer suddenly stops working, it might be due to a blocked nozzle. Mineral deposits from hard water can clog the sprayer head over time. Soaking the nozzle in a descaling solution or vinegar can dissolve these deposits, restoring proper spray function. Regular maintenance and cleaning of the nozzle will keep your bidet sprayer install in top condition, ensuring it continues to provide a clean and refreshing experience.
Frequently Asked Questions
What tools are needed for a bidet sprayer install?
For a bidet sprayer install, you’ll need a few basic tools. Start with an adjustable wrench to tighten connections. A Teflon tape is essential to prevent leaks. Also, have a screwdriver handy for any mounts or brackets. Finally, a bucket can catch any drips while you work, keeping the area dry.
How long does a bidet sprayer install take?
A bidet sprayer install typically takes about 30 minutes to an hour. This time frame assumes you have all the necessary tools and parts ready. It’s a straightforward process that involves adding a T valve and connecting the sprayer. Testing the operation and checking for leaks are the final steps to ensure everything works perfectly.
Can any toilet accommodate a bidet sprayer?
Most toilets can accommodate a bidet sprayer with ease. You simply need to ensure the toilet has a nearby water supply line. Adding a T valve splits this line, allowing the sprayer to function. This setup makes a bidet sprayer install possible in most bathroom configurations.
What are common mistakes in bidet sprayer install?
A common mistake in a bidet sprayer install is not using Teflon tape on the threads, leading to leaks. Some people forget to shut off the water supply, causing a messy situation. Others might tighten connections too much, risking damage to the parts. Lastly, failing to test the sprayer for leaks and function after installation can lead to problems down the line.
Is a plumber required for bidet sprayer install?
A plumber is not always needed for a bidet sprayer install. Many people find they can do it themselves with the right tools and instructions. However, if you’re unsure about the process or uncomfortable with plumbing tasks, hiring a professional might be best. Ensuring the job is done correctly can save time and prevent potential issues.